

 العربية

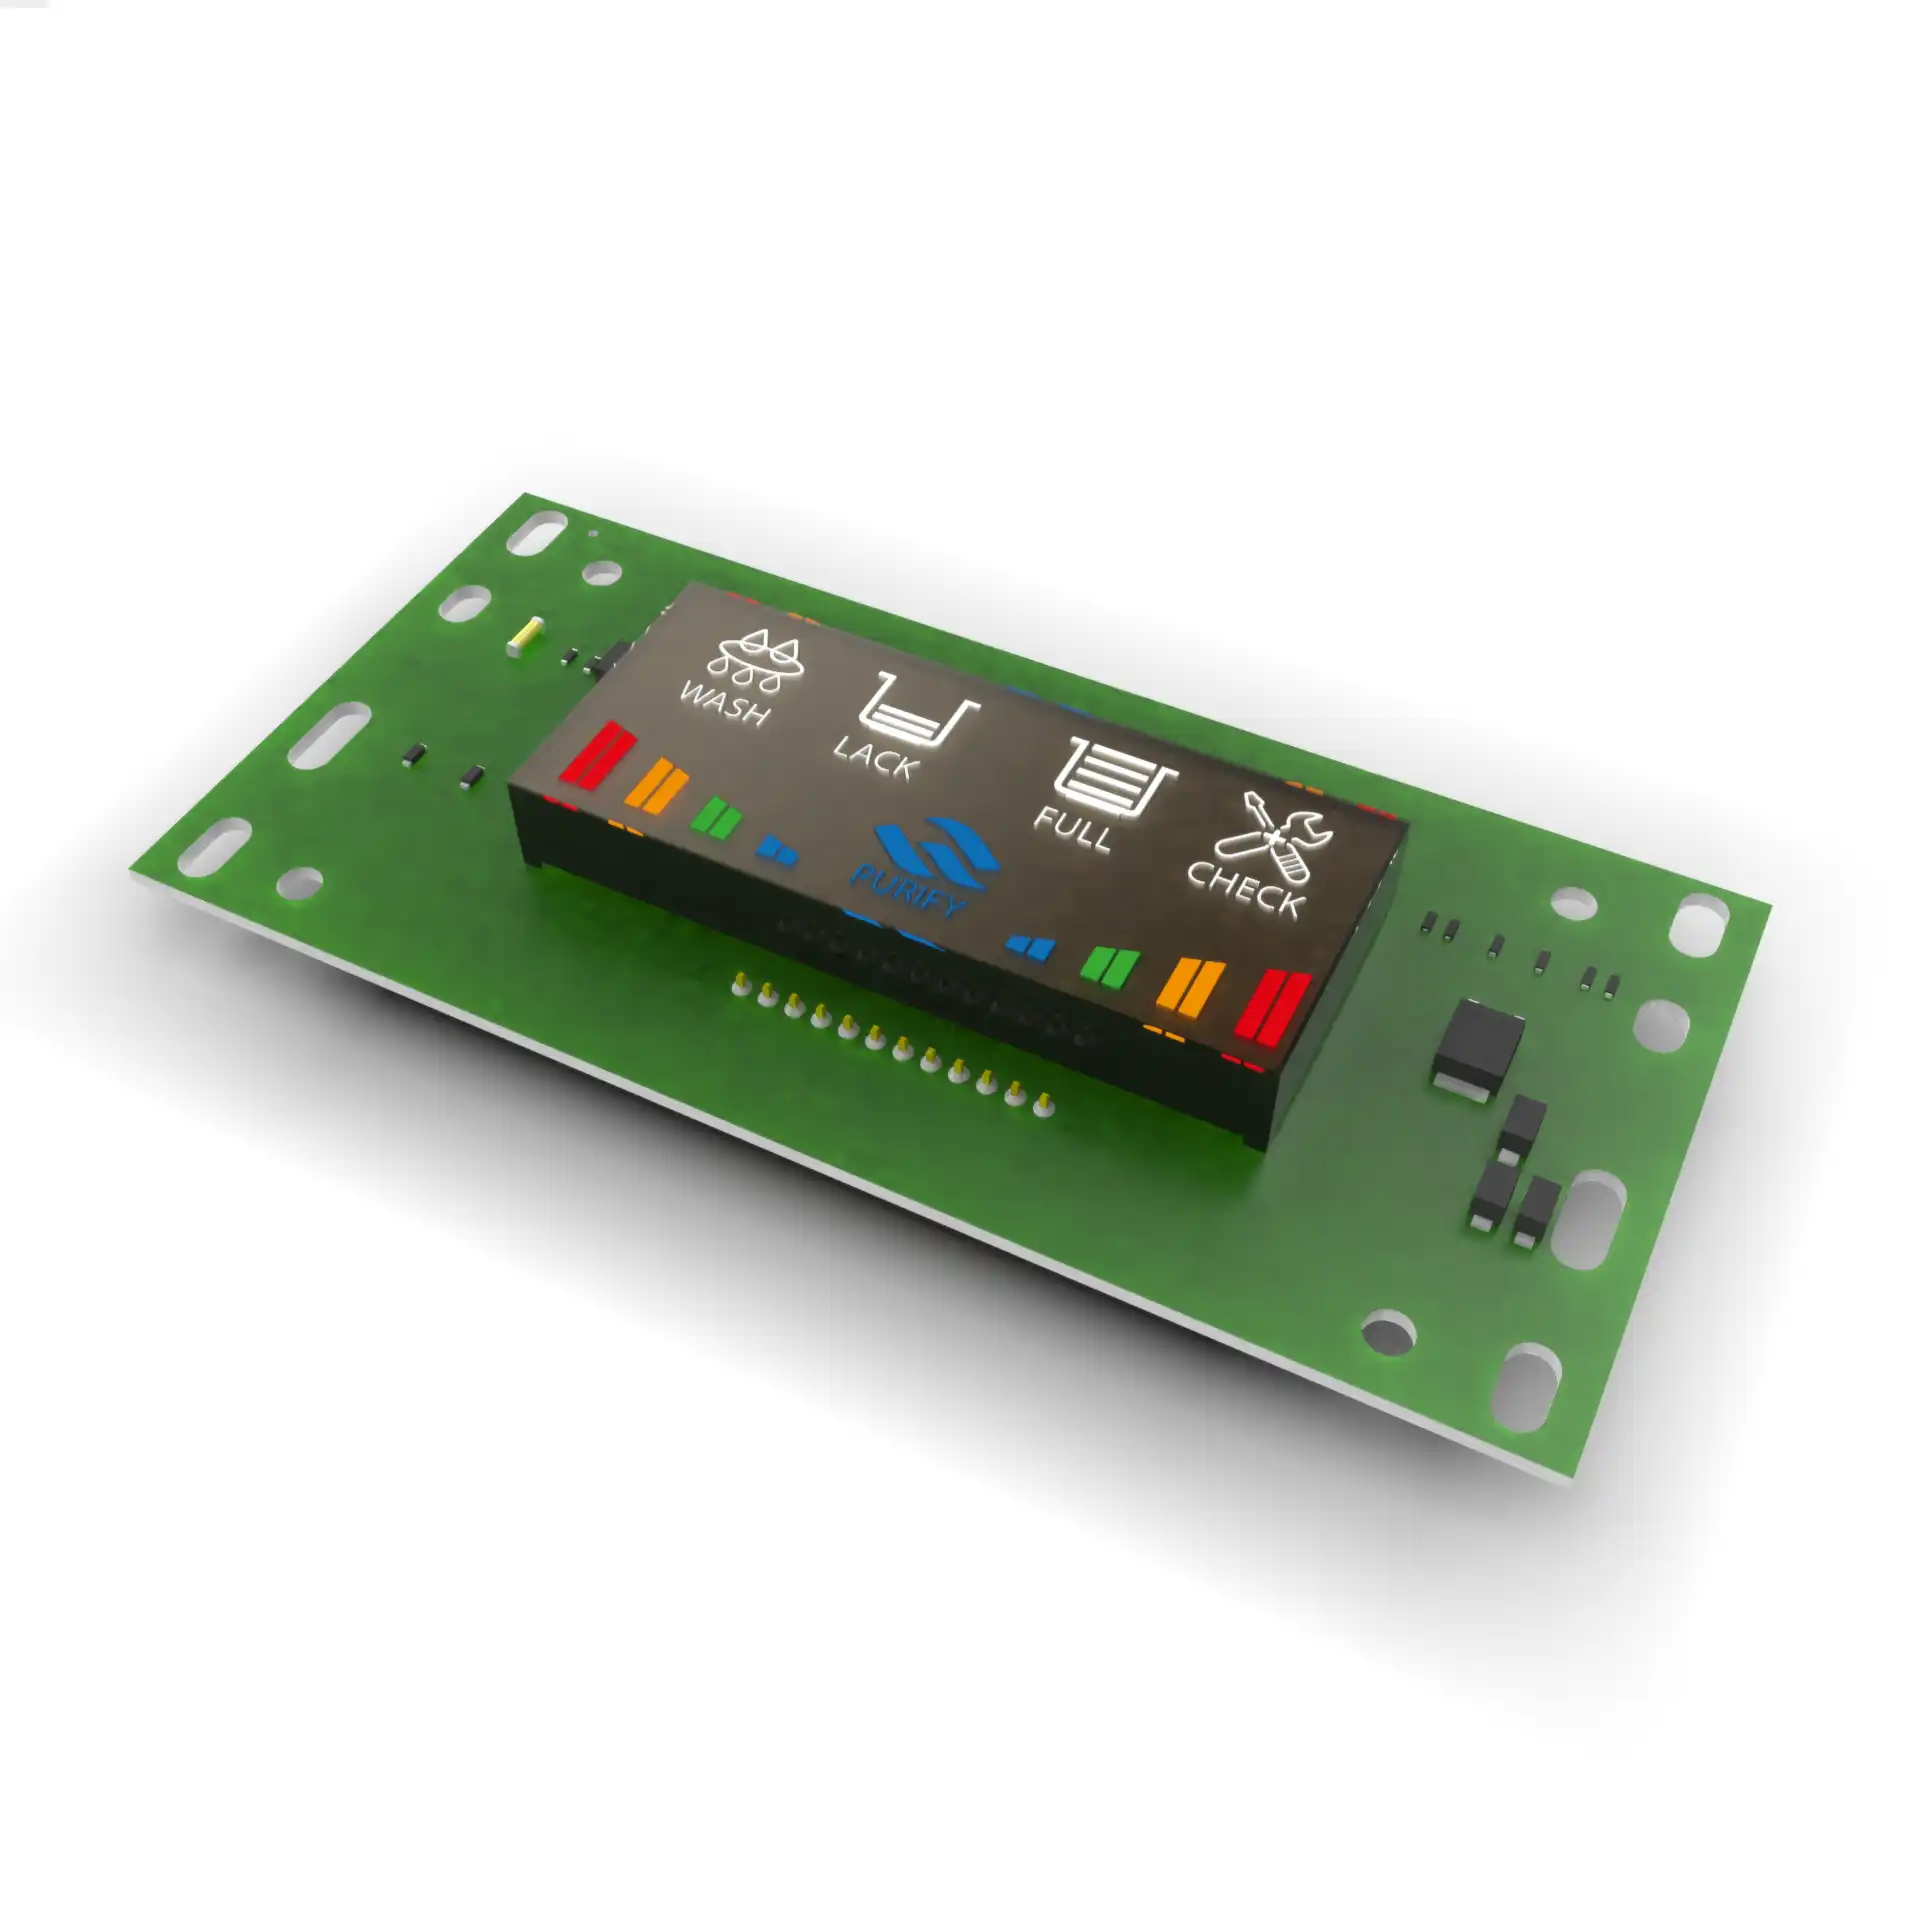
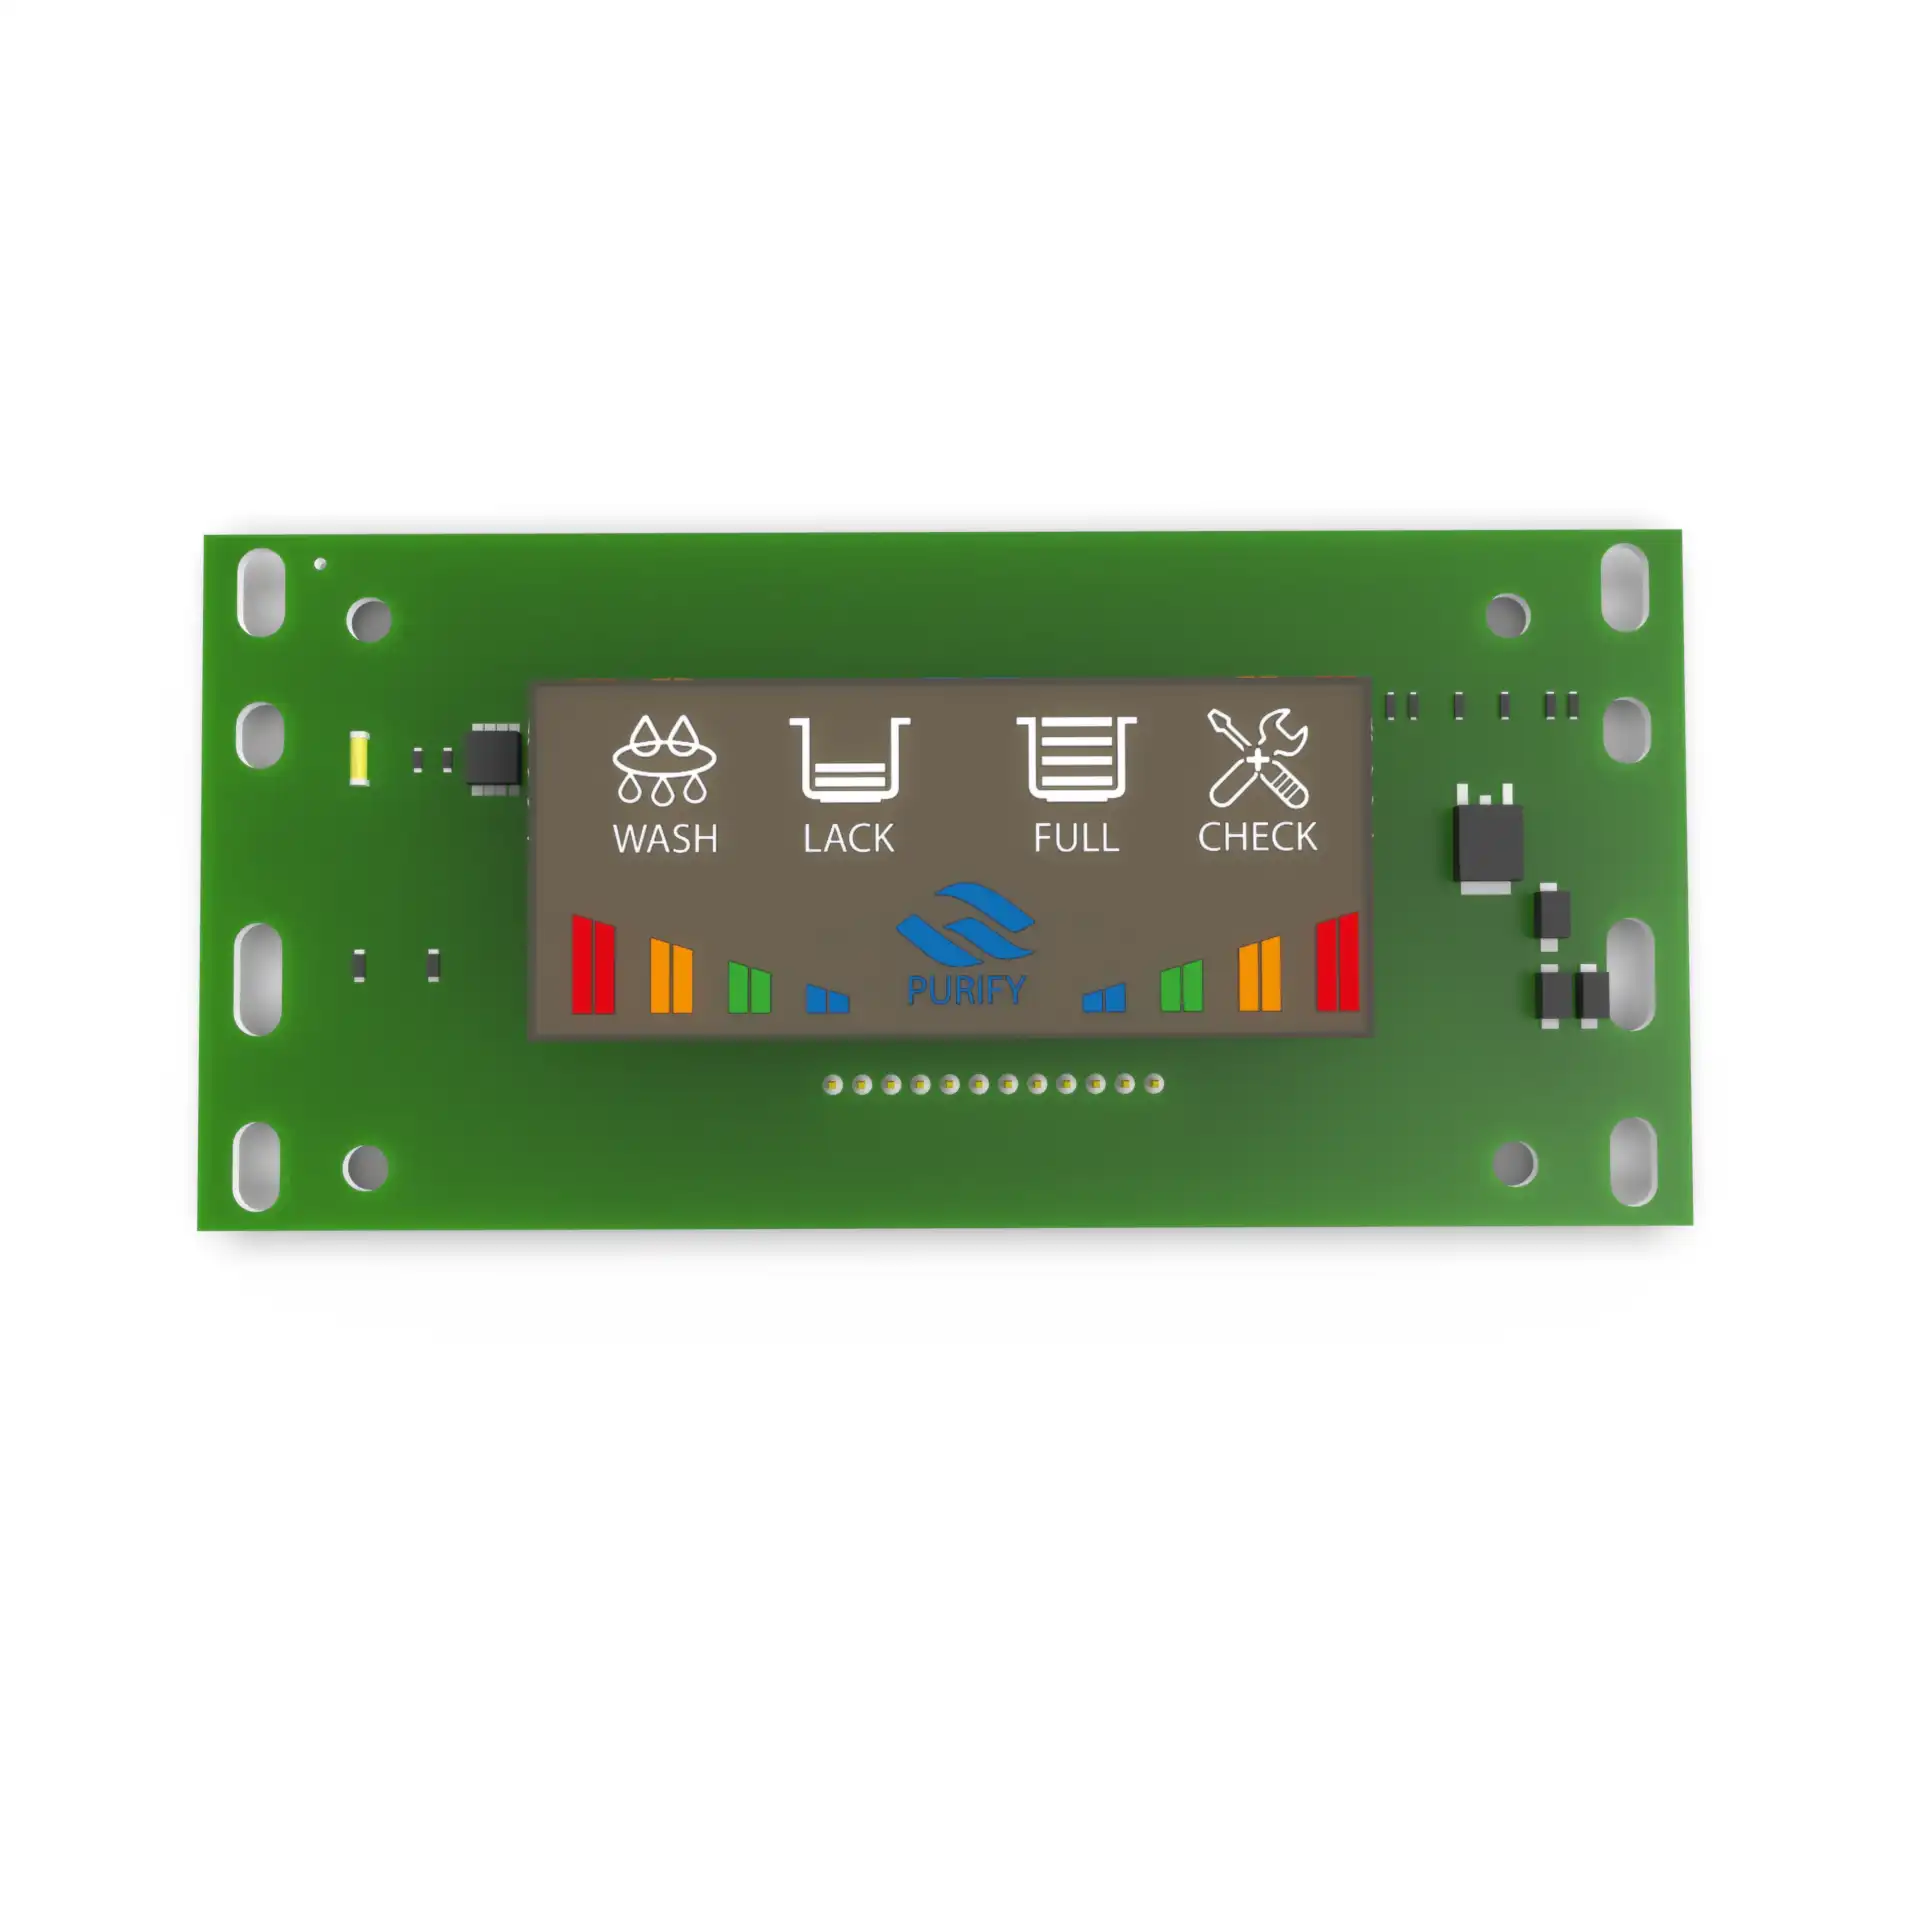
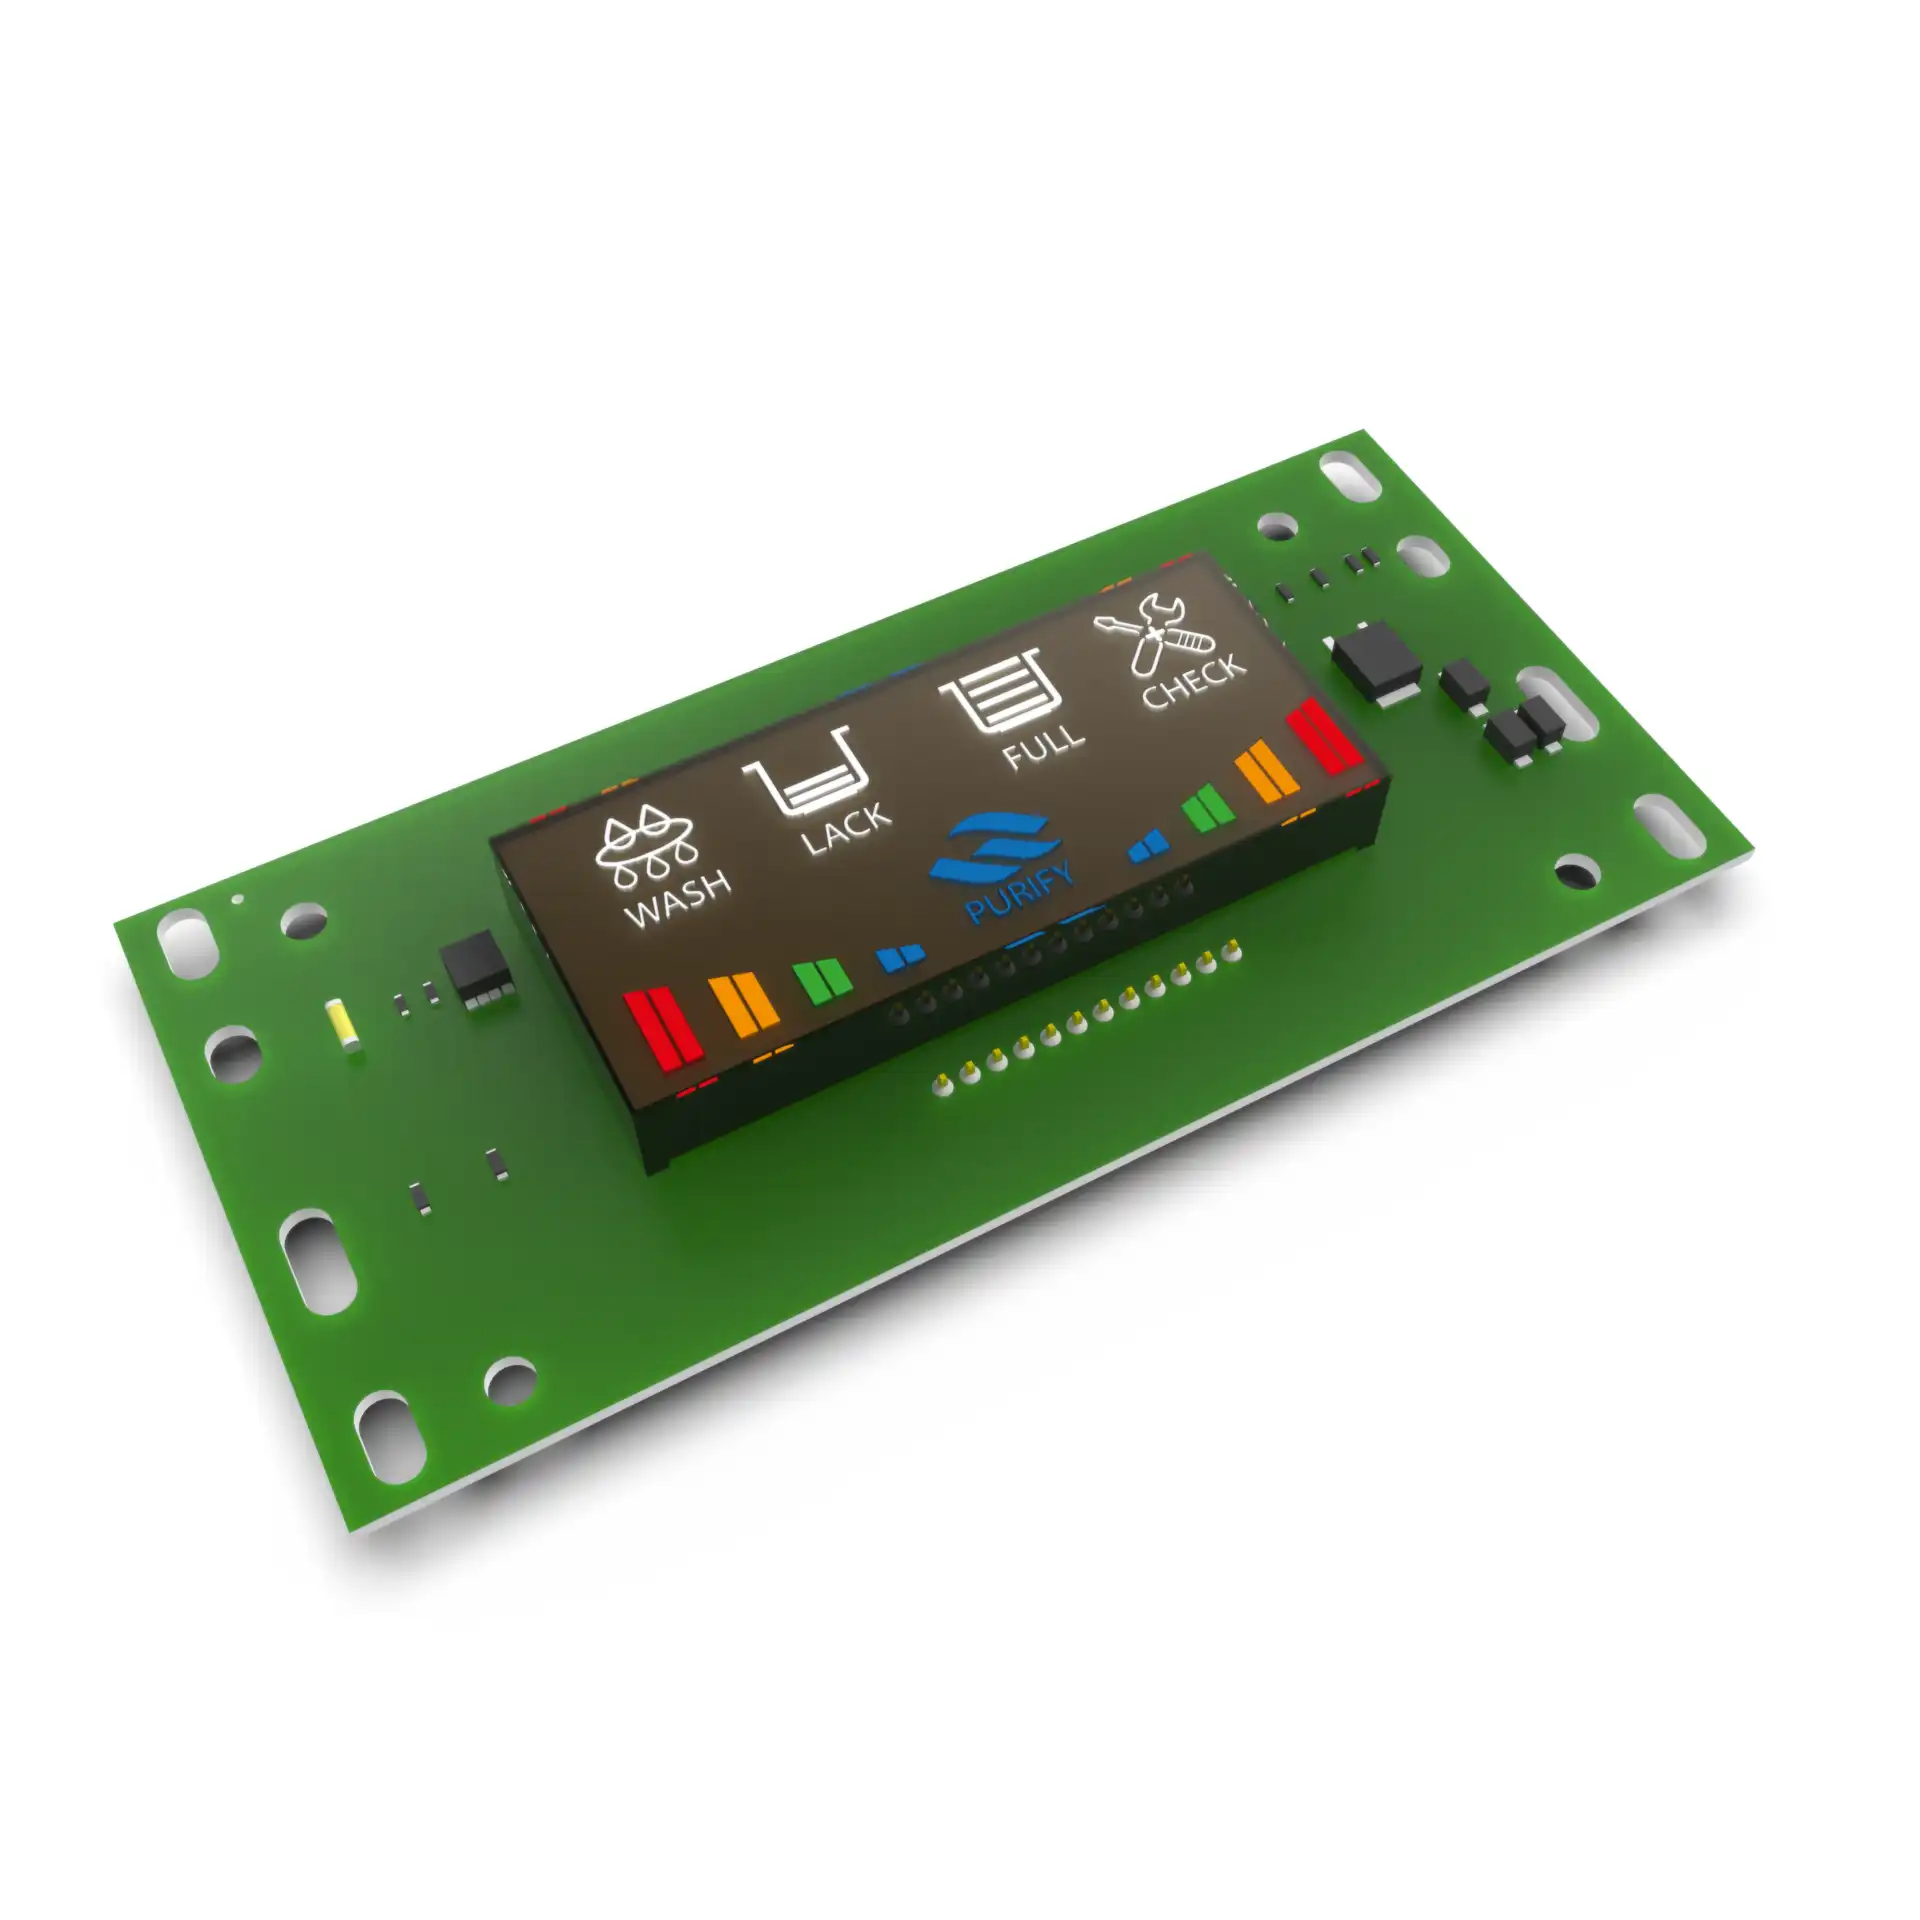
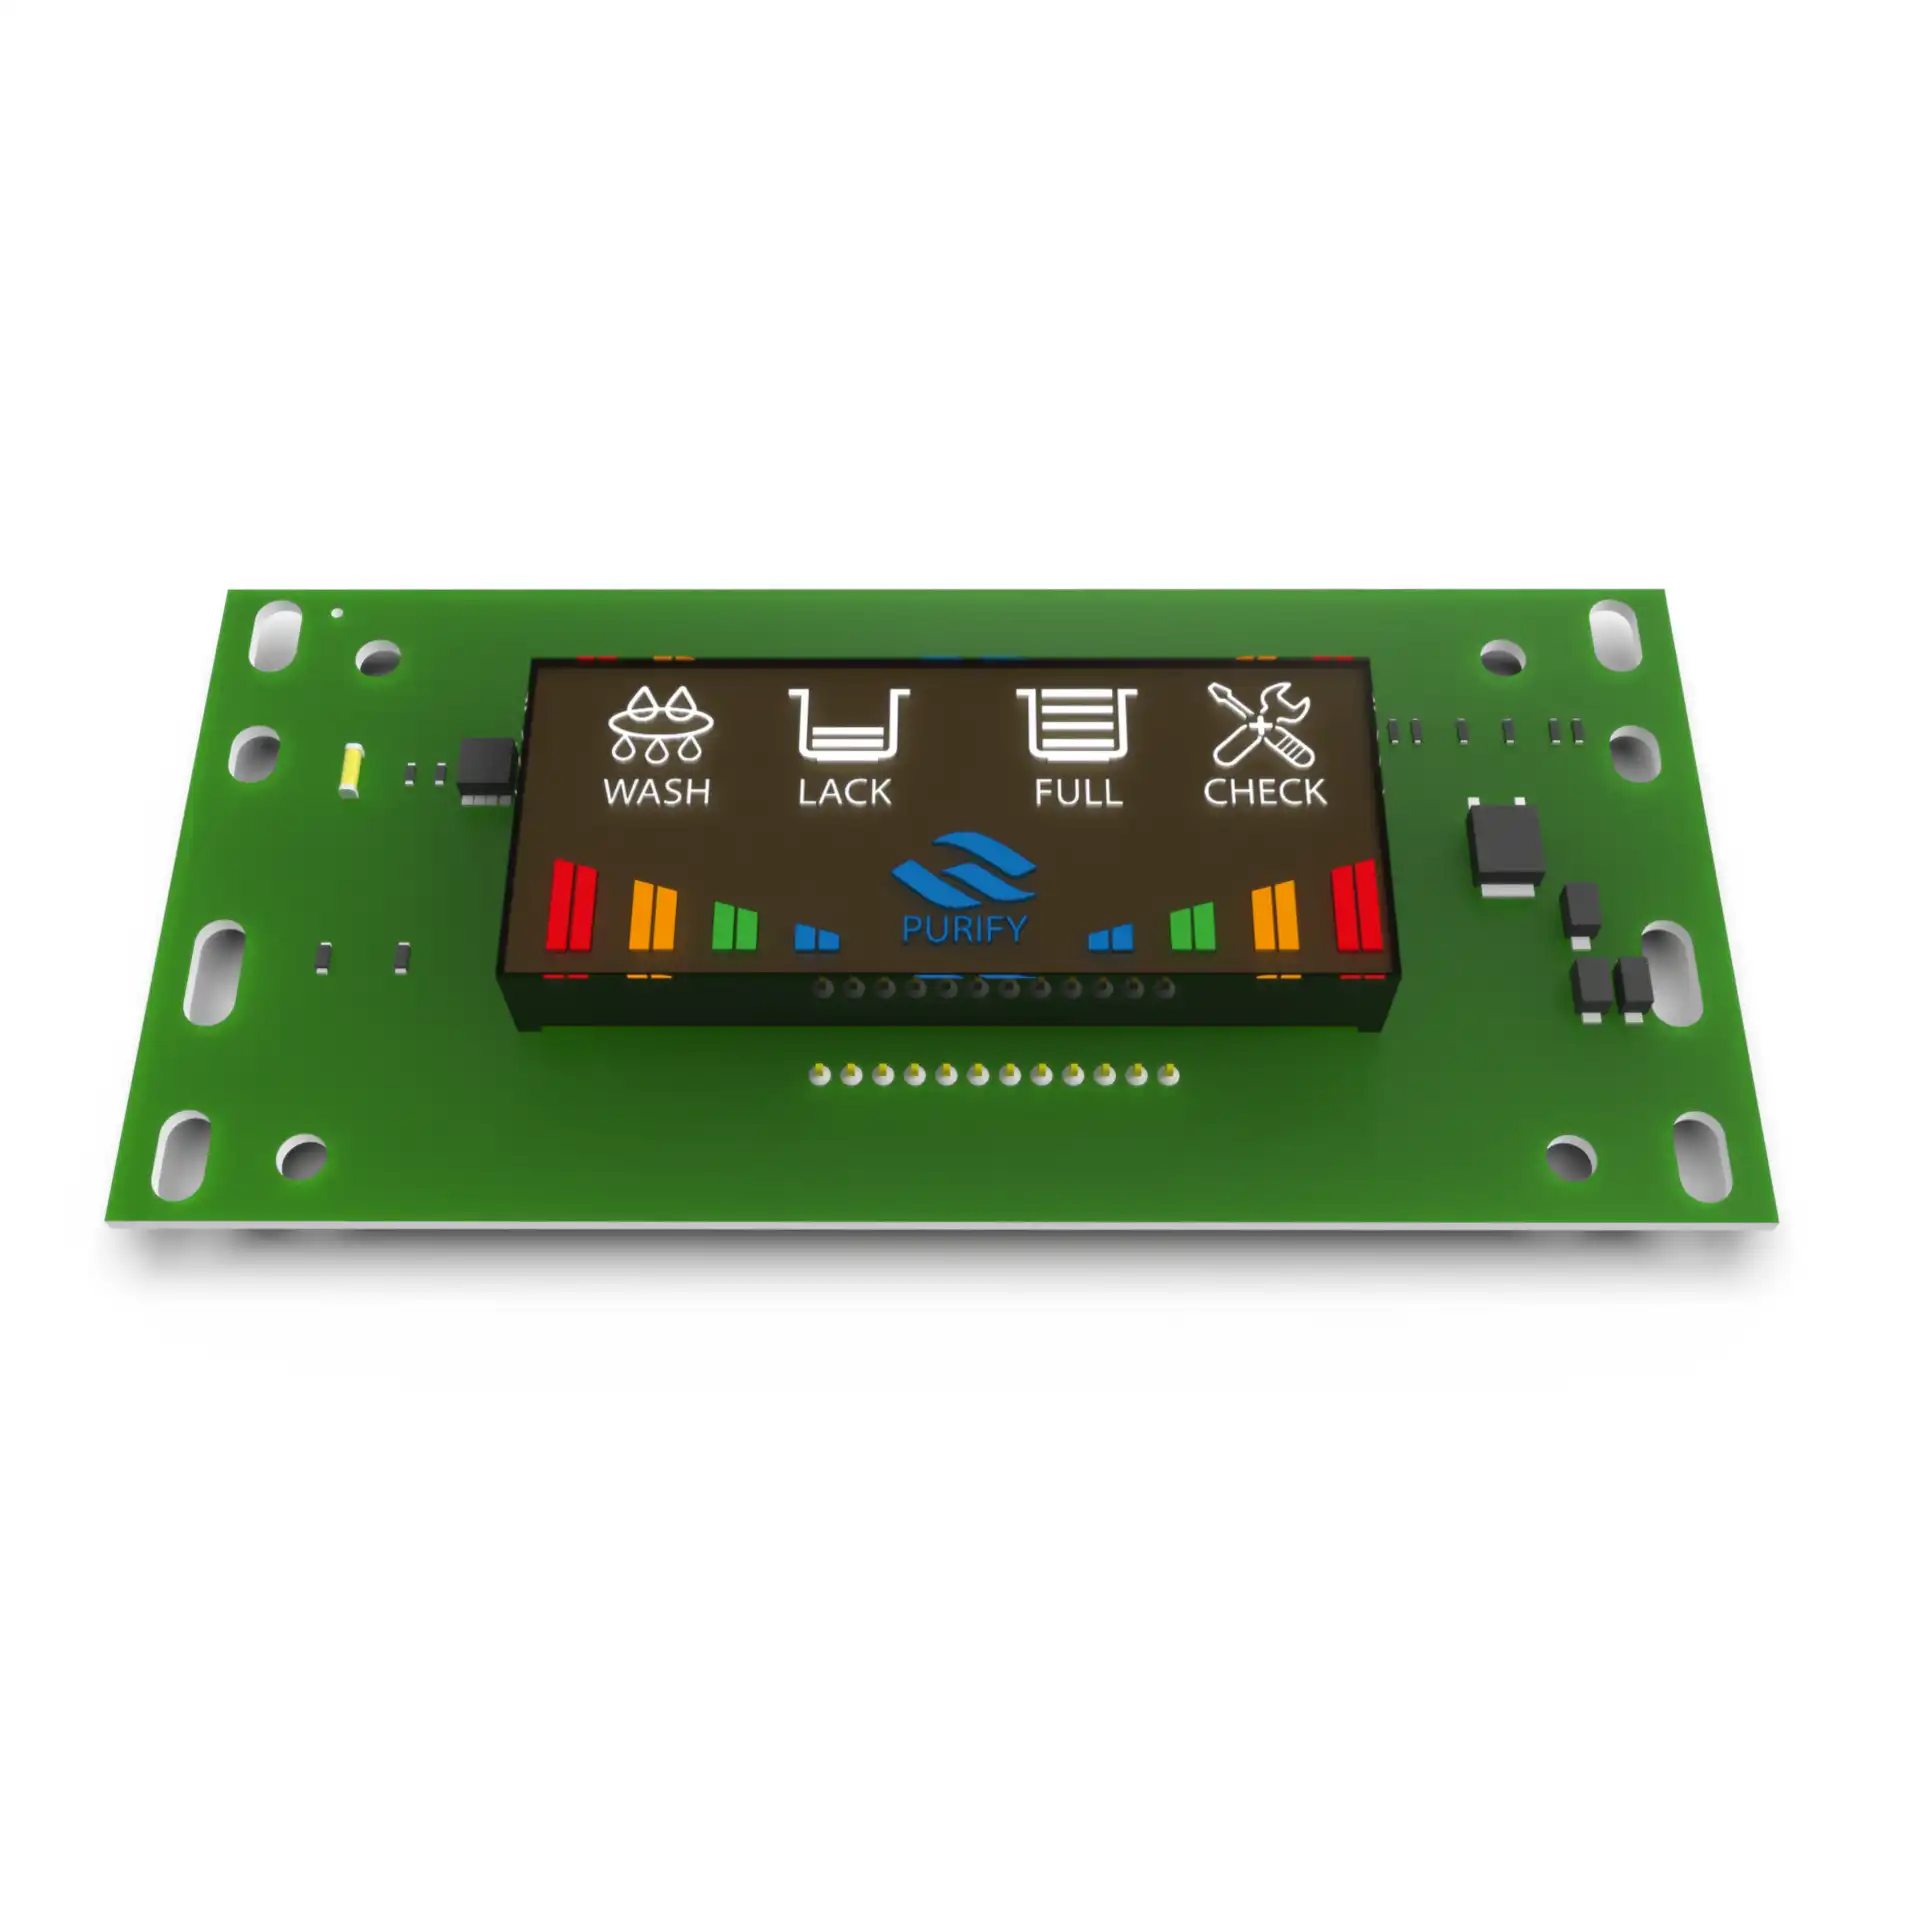


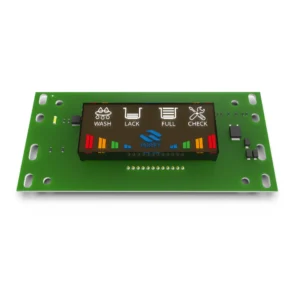
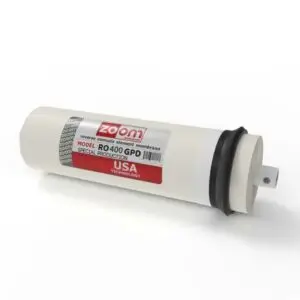
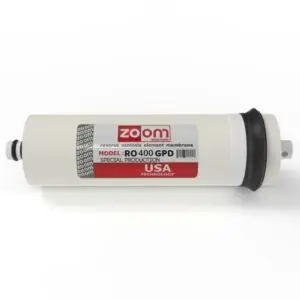
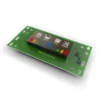
Original Display Screen for Zoom Digital Filter
The original display screen for the Zoom Digital Filter is the perfect choice to maintain your device’s performance at its best. This part is designed to provide high precision in displaying information and monitoring the filter’s condition with ease and clarity.
Key Specifications:
- High-Definition Digital Display: Shows all important information such as the filter’s operational status and washing cycle.
- Continuous Monitoring: The screen provides live data on the filter’s performance, ensuring you know when the device requires maintenance.
- Guaranteed Quality: An original replacement part to ensure optimal and reliable performance.
- Control and Monitoring: Control and monitor all filter operations via sensors and filter valves.
Benefits:
- Enhanced Efficiency: Helps maintain your device’s performance at high efficiency.
- Accurate Monitoring: Allows you to continuously monitor the filter’s condition, ensuring pure and healthy water.
- Quality Guarantee: An original part that guarantees top performance and reliability.
Uses:
- Replacing a damaged or faulty display in Zoom Digital Filters.
- Maintaining the filter’s optimal performance and ensuring its continuous operation without issues.
Choose the original display screen for your Zoom Digital Filter to maintain your device’s quality and ensure its perfect performance!


Reviews
There are no reviews yet.